Importing Ledger Accounts
Follow the steps detailed below to import a Polkadot account via a Ledger Hardware wallet. Currently, Polkadot Live can only import a single Polkadot address from Ledger devices.
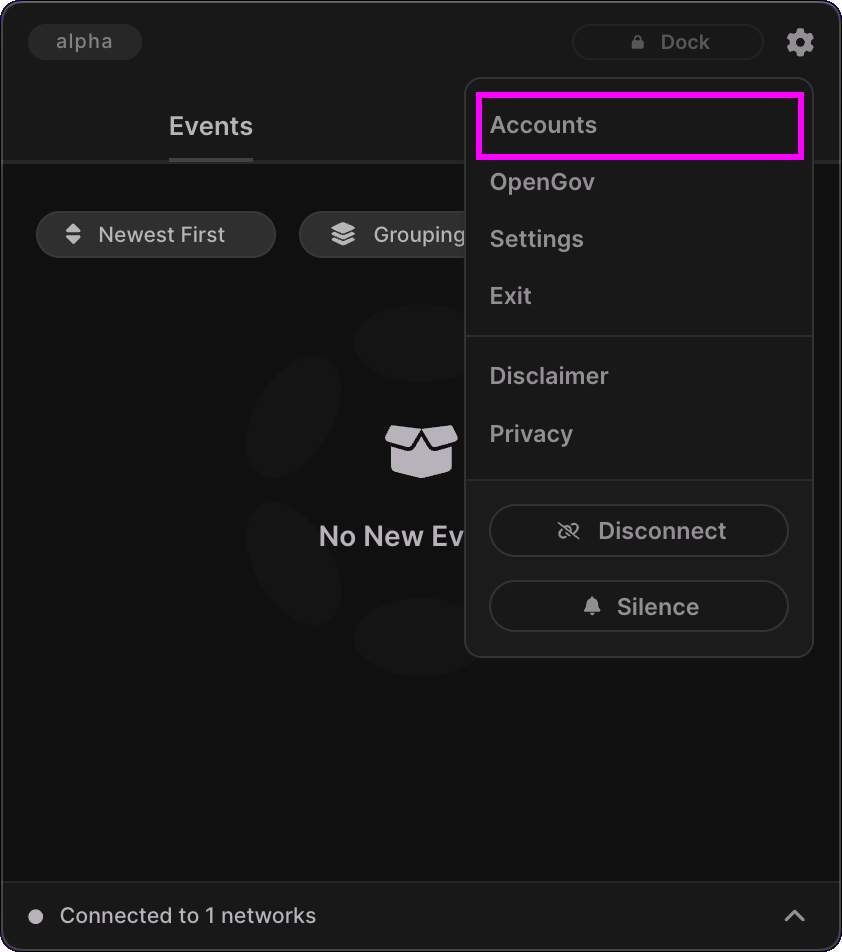
1. Open the accounts window.
Click the cog icon in the main window's header to open its menu, and then click Accounts to open the corresponding window.
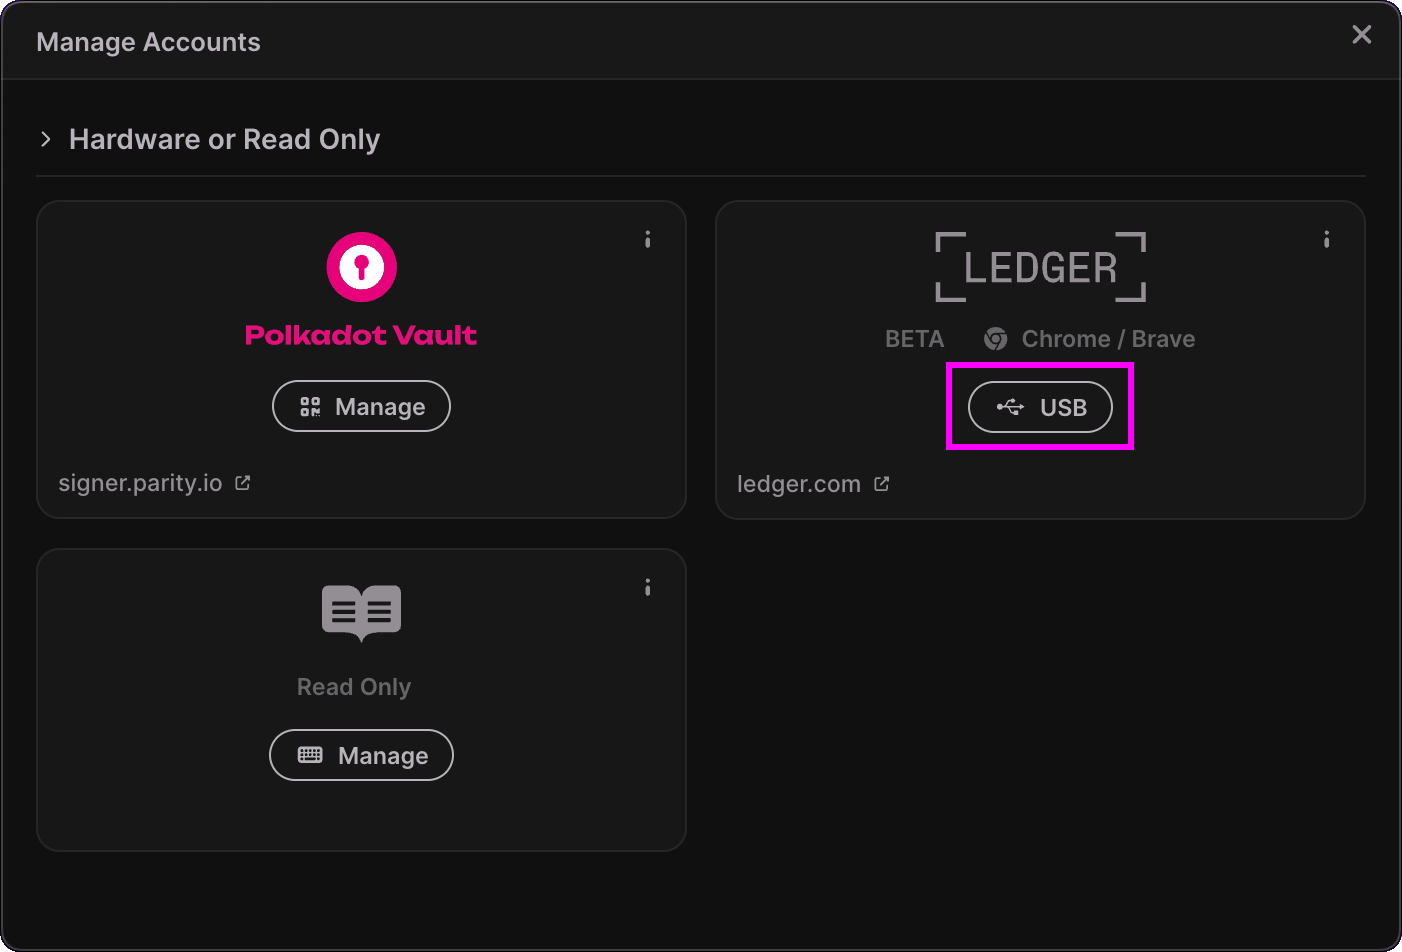
2. Click the Ledger card's USB button.
From the Accounts window home page, click the USB button inside the Ledger card.
3. Wait for the Ledger device to be detected.
Polkadot Live will now enter a loop and check if a Ledger hardware wallet is connected to your system with the Polkadot application open. If you haven't done so already, connect your Ledger device to the system via USB, unlock it, and open the Polkadot application on the device itself.
Polkadot Live will update its UI accordingly and will instruct you to unlock your Ledger device and open the Polkadot application if necessary.
With the aforementioned requirements satisfied, the Polkadot address managed by your Ledger device will be automatically read and added to the accounts window.

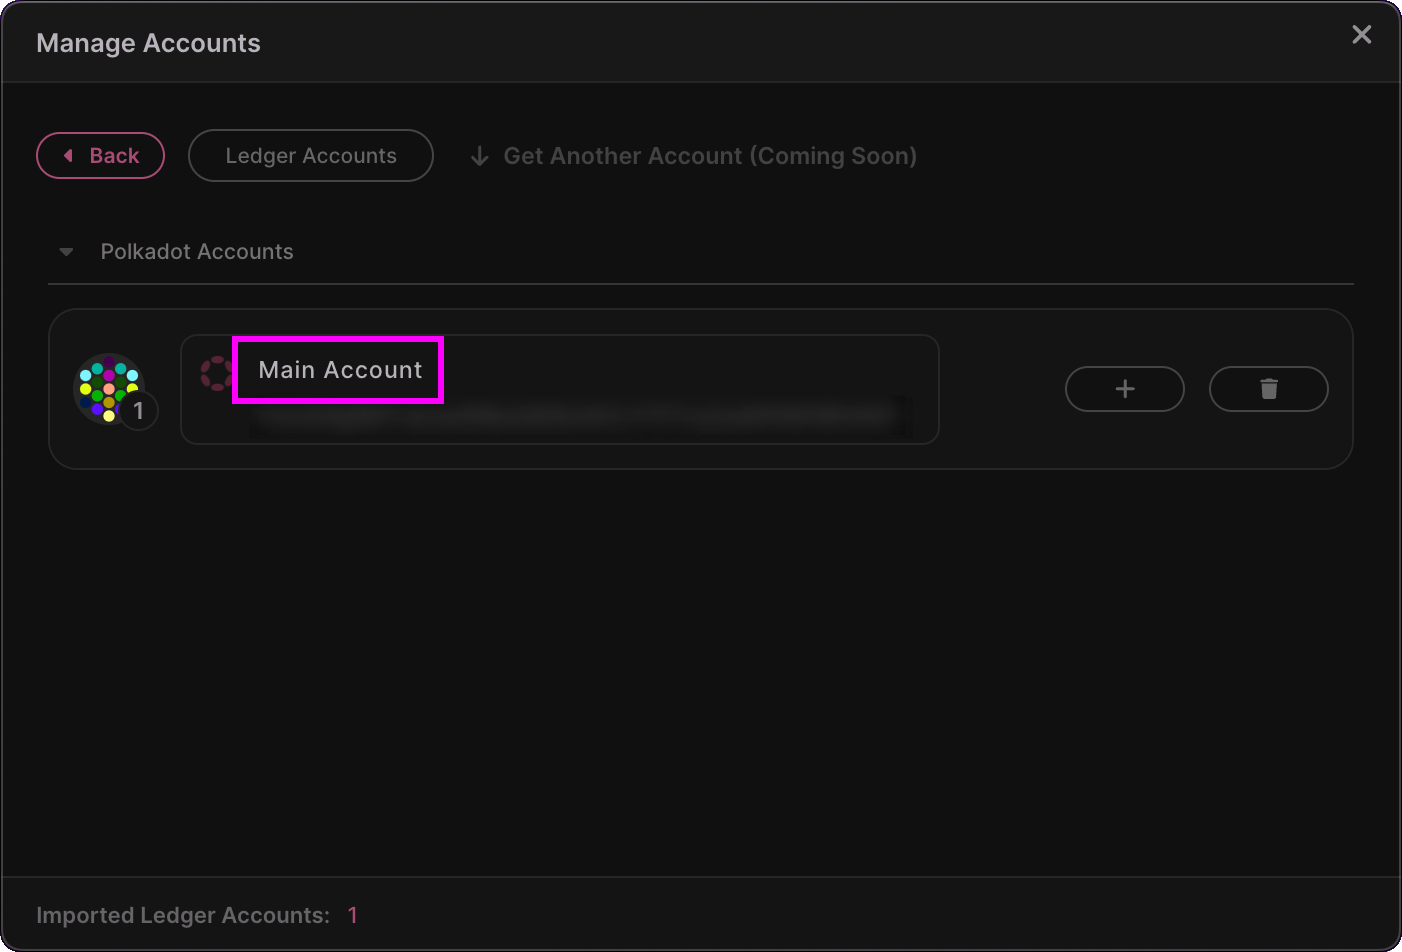
4. Rename the imported account.
By default, an imported account's name will be a truncated version of its encoded blockchain address. It is recommended to name an imported account to make it easily identifiable within the application. To rename an account, simply click its name (the text above its address) and type in a new one. Press the Enter key after you've typed in a name to save it.
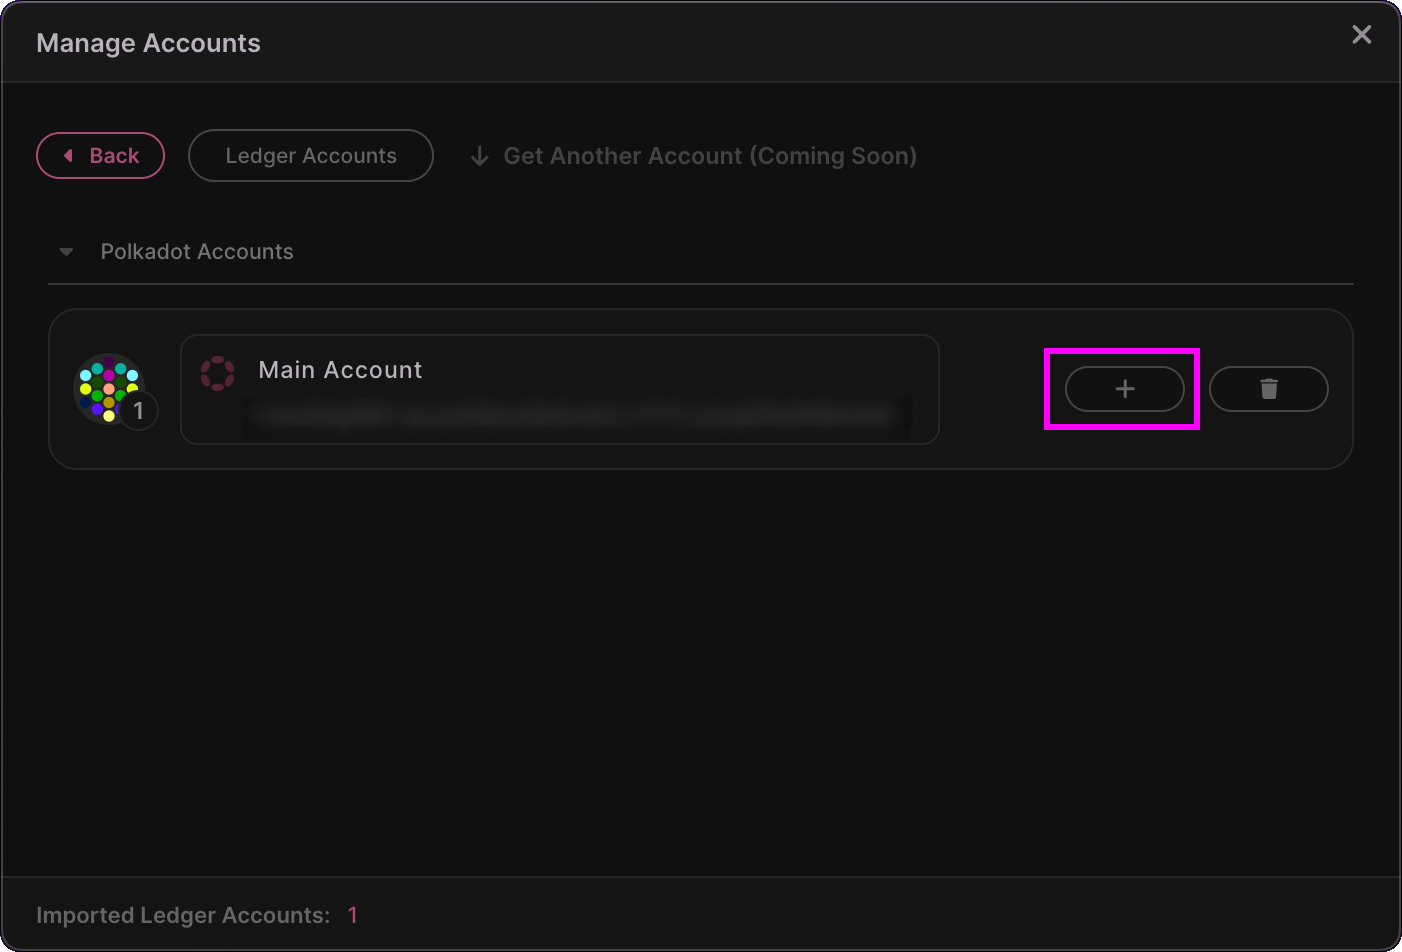
5. Click the Add button to add the account to the main window.
Click the Add button to start the import process.
A 3-dot animation will be rendered over the Add/Remove button while the account is being imported. During this import process, the account's data will be fetched from its corresponding blockchain network. Such data will include its balance and staking status.
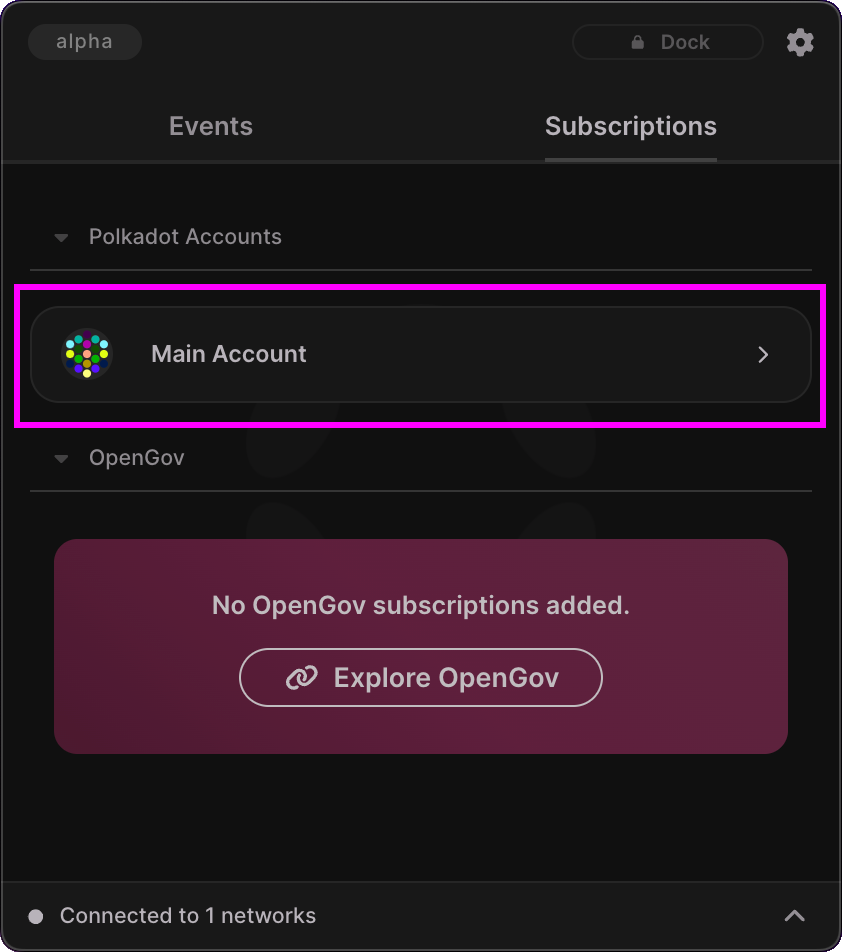
After the import process completes, a native OS notification will be shown to notify you of a successful import. The account will also be listed under the main windows Subscriptions tab. This means that you can now manage the account's subscriptions in the main window.
6. Click the account entry in the main window.
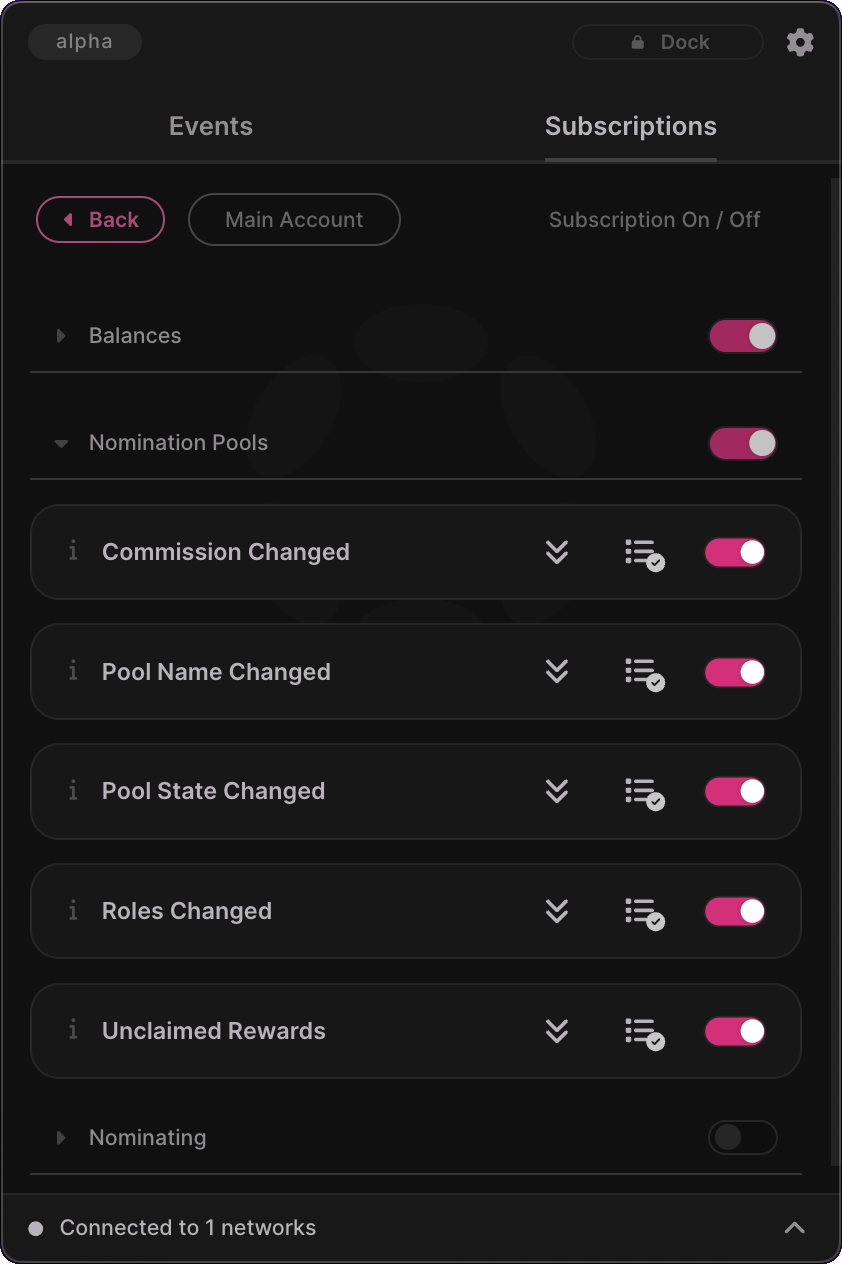
Close the Accounts window and return to the main window. Click its Subscriptions tab to see your imported account listed. Click on the imported account entry to view and manage its subscriptions.
7. Manage the account's subscriptions.
From here you can manage and preview subscriptions for the imported account.
